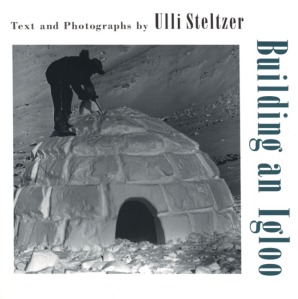
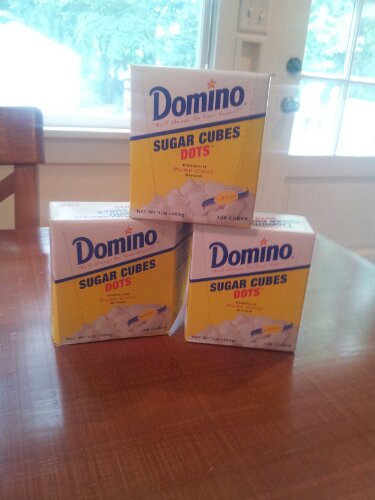
Our craft project this week was inspired by a fun picture book called Building an Igloo by Ulli Stelzer. In it, the author shows step by step how to build an igloo with 20 pound blocks of snow. We used little sugar cubes called Dots for ours…
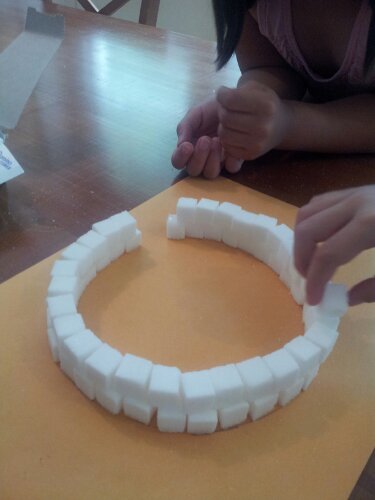
First we traced around the lid of a pot to outline an 8 inch circle onto a thick piece of paper. Next we glued the sugar cubes onto the outline, leaving a space for the entrance.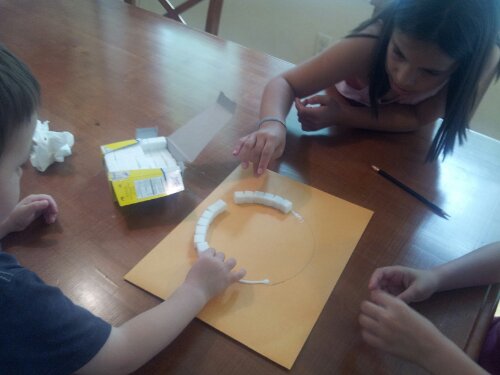
The scouts lay four rows of sugar cubes, but quickly discovered that the glue did not stick at all so it was quite a balancing act! Perhaps icing would work better..
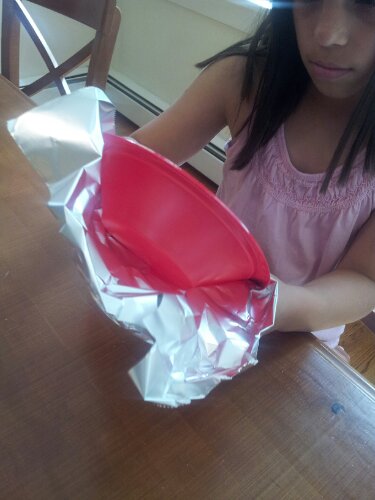
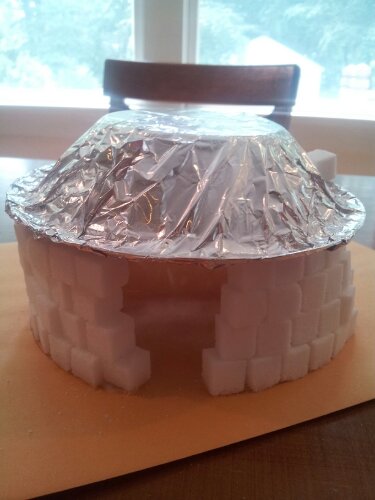
We followed the pattern that the Inuit used by carefully making each layer a bit smaller but knew it would be impossible to create the dome without it falling in, so this was our solution…
A plastic bowl, covered in tin foil so as to be a little less conspicuous.
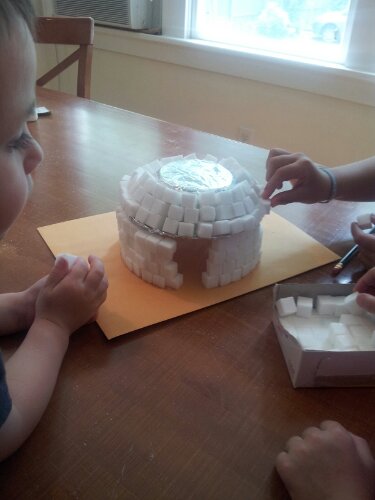
The scouts were back to building and found it much easier to lean the cubes against the lip of the bowl.
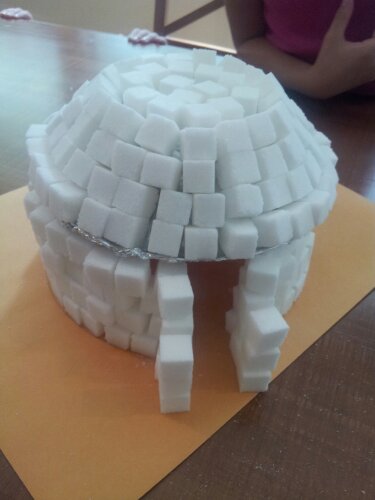
They continued the pattern until the top was covered. And then added a front entrance..
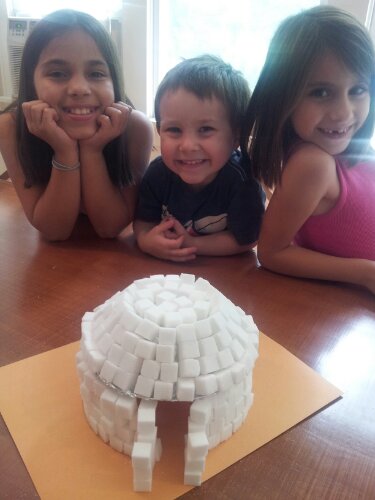
A perfect project for little fingers.
With all that sugar I’m just afraid one will try to lick it when no one’s looking!
Some cool things we learned about Igloos: They are only called igloos in some regions of the Arctic and in others they are called igluvviak. They can be built so big that they can hold large parties. If an igloo is damaged then the family will build a new one because they are too difficult to repair. Igloos can have multiple rooms and even windows made out of thick ice. They must have a hole in the top to let out the heat from the “kuliq,” a lamp that provides warmth and light by burning seal fat, or the igloo will melt!

